How to Use a Sandwich Maker the Right Way (Beginner’s Guide)
Published: 16 Oct 2025
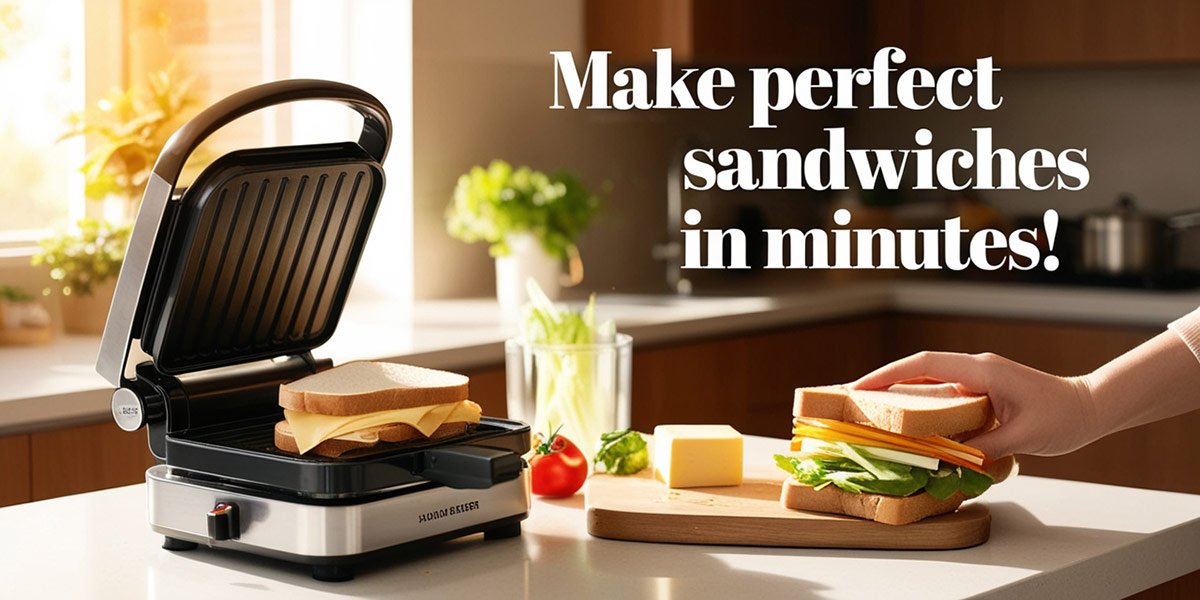
Sandwich makers may seem simple, but they’re a tiny kitchen hero that can transform your mornings and snack times. Imagine the smell of warm, melty sandwiches filling your kitchen or serving up a quick, comforting meal that makes everyone smile.
This guide walks you through everything — setup, cooking, cleaning, tips, and FAQs — so you can use your sandwich maker with confidence and joy.
Getting Started: Setting Up Your Sandwich Maker
Before you start, place your sandwich maker safely and prepare it for cooking.
- Place on a flat, heat-safe surface away from water or curtains.
- Plug in and preheat until the indicator light shows it’s ready.
- Ensure plates are clean and dry before use.
Step-by-Step Guide: How to Use Your Sandwich Maker
Follow these steps to make perfect, crispy sandwiches every time.
Step 1: Prepare Your Ingredients
Make sure your bread and fillings are ready for a balanced, tasty sandwich.
- Butter the outer sides of the bread for crispiness.
- Add cheese, vegetables, or cooked meat evenly between slices.
- Avoid overfilling to prevent spillage.
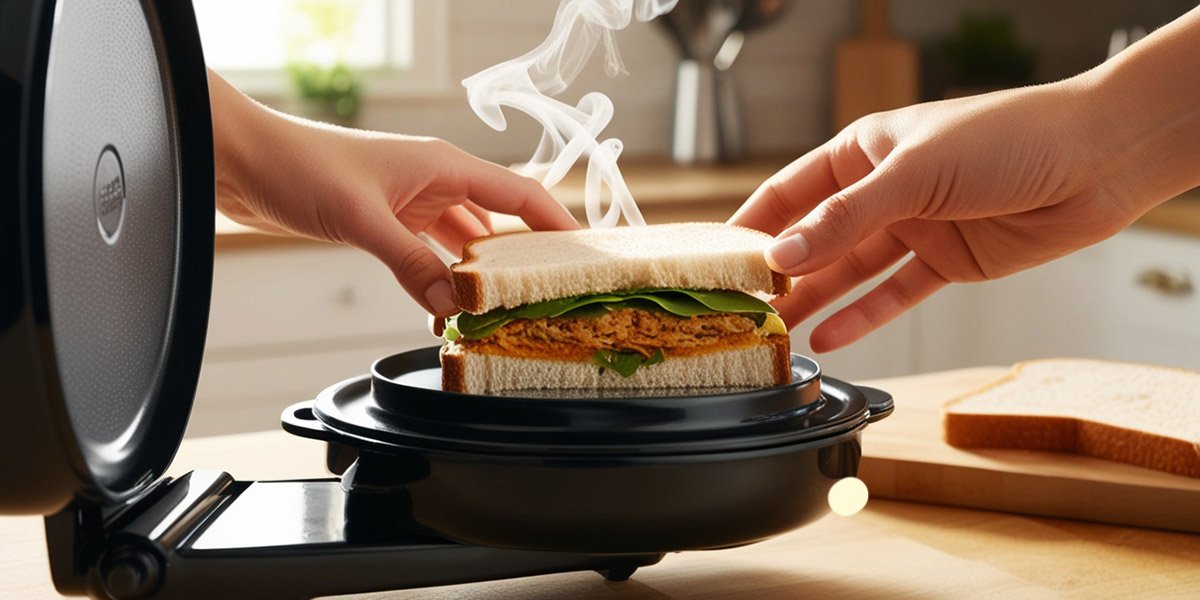
Step 2: Place and Cook Your Sandwich
Position the sandwich carefully for even cooking.
- Open the lid gently and place the sandwich on the lower plate.
- Close the lid lightly — do not press hard.
- Cook for 3–5 minutes; avoid lifting the lid too often.
Step 3: Remove and Serve
Take out your sandwich safely and enjoy it hot.
- Use a wooden or silicone spatula — avoid metal tools.
- Let it cool for a minute before cutting.
- Serve with dips or sauces as desired.
Step 4: Cleaning Your Sandwich Maker
Clean your sandwich maker safely to keep it in top condition.
- Unplug and let it cool completely.
- Wipe plates with a soft, damp cloth; avoid soaking or scrubbing.
- For removable plates, wash separately or in the dishwasher.
6 Main Features to Look For in a Sandwich Maker
Choose a model that’s safe, convenient, and perfect for your needs.
- Plate Material: Non-stick for easy cleanup; ceramic for even heat and durability.
- Size and Capacity: Compact for 1–2 people, larger for families.
- Removable Plates: Easier to clean; some models offer interchangeable plates.
- Temperature Control: Adjust crispiness and prevent burnt edges.
- Cool-Touch Handles: Prevent burns and provide a firm grip.
- Indicator Lights: Shows when preheated and when sandwich is ready
— Knowing the right features will save you time and improve every sandwich!
Why Your Kitchen Needs a Sandwich Maker
A sandwich maker is convenient and can transform your cooking routine.
- Quick Meals: Ready in minutes for breakfast, snacks, or late-night cravings.
- Saves Money: Make restaurant-style sandwiches at home.
- Healthy Eating: Control ingredients for better nutrition.
- Versatile Use: Toast wraps, grill veggies, or make omelets and desserts.
- Less Mess: Non-stick plates make cleanup fast.
- Kid-Friendly: Safe and easy, perfect for involving kids.
— Quick meals, less mess, and happy taste buds — what’s not to love?
Top 5 Tips for Perfect Sandwiches
Simple tips to get consistently tasty results.
- Don’t overfill; light layers toast better and prevent spills.
- Experiment with different breads for unique flavors.
- Use cheese to bind fillings evenly.
- Cut sandwiches diagonally for better heat circulation.
- Let sandwiches rest for 1 minute before serving.
— Follow these tips and your sandwiches will turn out perfect every single time!

Troubleshooting Common Issues
Quick solutions to common sandwich maker problems.
- Not Heating: Check plug, outlet, and power light.
- Uneven Cooking: Use evenly thick bread and fillings; preheat properly.
- Sticking: Lightly grease plates; avoid metal utensils.
- Smoke or Burnt Smell: Remove crumbs, clean plates, and use flat surfaces.
- Shuts Off Suddenly: Let it cool; check the cord and plug; contact support if recurring.
— Small issues happen, but they’re easy to fix — no need to stress!
FAQs
Most sandwich makers need about 3–5 minutes to fully preheat. The indicator light or evenly hot plates signal readiness. Preheating ensures the bread cooks evenly, gets a golden-brown crust, and prevents sticking or burning.
Yes, but only a thin, even layer should be applied to the bread’s outer sides. This creates a crisp, golden finish without leaving greasy residue. Too much can cause smoke or make cleaning harder, so moderation is key.
White and multigrain breads work best for classic sandwiches. Sourdough or ciabatta suits heavier fillings, while soft bread is perfect for cheese or egg sandwiches. Fresh bread ensures even toasting and a crunchy exterior while staying soft inside.
Cook for 3–5 minutes and check by lifting the lid slightly. A golden-brown crust and melted cheese usually indicate it’s ready. Avoid opening the lid too often, as it can affect even heat distribution and crispness.
Yes, but it’s best to thaw slightly first. Frozen bread or fillings may cook unevenly and result in cold spots or soggy sandwiches. Let ingredients sit at room temperature for a few minutes or use a microwave defrost for faster results.
Always unplug and let it cool completely before cleaning. Wipe the plates with a soft, damp cloth or sponge. For stubborn residue, use a small amount of baking soda paste. Removable plates can be washed separately or in the dishwasher to save time.
Definitely! Many sandwich makers are multi-purpose appliances. You can make omelets, waffles, hash browns, wraps, or even quick desserts like chocolate or fruit sandwiches. It’s a versatile tool for breakfast, snacks, or light meals.
Check the plug, outlet, and cord first, then inspect the heating plates. Overloaded circuits can also cause issues. If everything seems fine, but it still doesn’t heat, the heating element may be worn out, requiring professional repair or replacement.
Lightly butter or spray the plates before cooking, avoid metal utensils, and ensure the sandwich maker is fully preheated. Don’t open the lid before the cooking time ends, as this can make sandwiches stick to the plates or tear.
Use evenly thick bread and balanced fillings. Preheat the maker fully and close the lid gently. Experiment with bread type, butter/oil amount, and fillings until you find the perfect crispiness for your taste.
We Hope You Loved This Guide!
Now that you know all the tips, tricks, and steps to make perfect sandwiches, you’re ready to take action. Grab your sandwich maker today and start creating warm, crispy, and delicious meals that everyone will enjoy!


- Be Respectful
- Stay Relevant
- Stay Positive
- True Feedback
- Encourage Discussion
- Avoid Spamming
- No Fake News
- Don't Copy-Paste
- No Personal Attacks
- Be Respectful
- Stay Relevant
- Stay Positive
- True Feedback
- Encourage Discussion
- Avoid Spamming
- No Fake News
- Don't Copy-Paste
- No Personal Attacks
