Coffee Maker Leaking from Bottom: Common Causes & Easy Solutions
Published: 12 Nov 2025
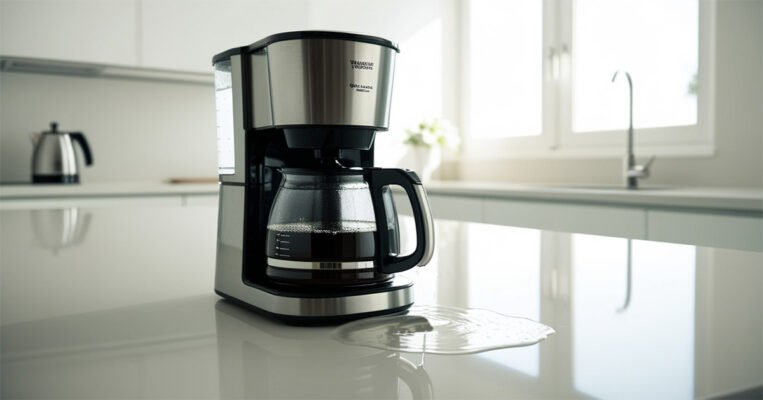
Noticed puddles under your coffee maker? A coffee maker leaking from the bottom can quickly turn your peaceful morning into a messy one. The good news is that most leaks are caused by simple issues that you can fix at home without any tools or expert help. Let’s explore what causes these leaks and how to fix them step by step.
Before You Begin Fixing
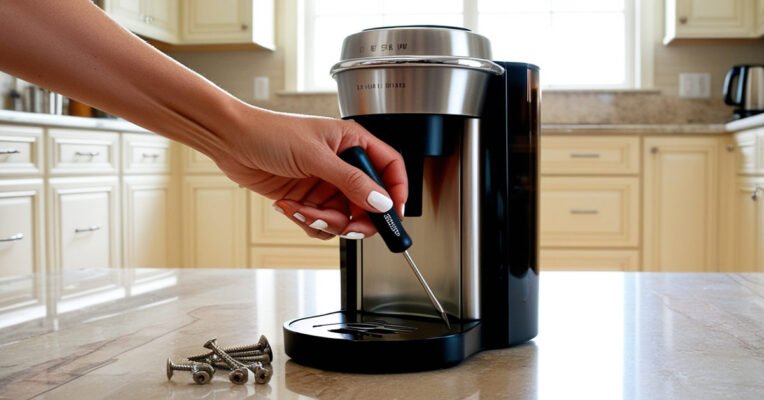
Before you begin, unplug the coffee maker and let it cool down. Place it on a towel or countertop with good lighting. You’ll only need a few things—like a screwdriver, vinegar, and mild detergent. Always check your model’s manual before opening any parts to avoid voiding the warranty.
Causes and Fixes for a Coffee Maker Leaking from the Bottom
Here are ten common causes of leaks and how you can fix each one safely at home.
| 1. Loose or Damaged Water Hose |
|---|
|
Cause: The internal water hose can loosen or crack due to frequent heating and cooling cycles. |
| 2. Cracked Water Reservoir |
|---|
|
Cause: A cracked water tank often leaks as soon as you fill it. This happens from dropping or over-tightening it. |
| 3. Worn Seal Ring or Gasket |
|---|
|
Cause: The rubber seal ring between the heating plate and the water tank wears out over time. |
| 4. Mineral Buildup Inside the Tubes |
|---|
|
Cause: Hard water minerals clog the pipes, forcing water backward or out the bottom. |
| 5. Cracked Heating Plate Base |
|---|
|
Cause: Corrosion or cracks under the heating plate can allow water to seep out during brewing. |
| 6. Overfilled Reservoir or Coffee Grounds |
|---|
|
Cause: Too much water or coffee causes overflow, which leaks through the base. |
| 7. Faulty One-Way Valve |
|---|
|
Cause: This small valve controls water flow to the heating chamber. When blocked or worn, it leaks from the bottom. |
| 8. Leaking Carafe or Brew Basket |
|---|
|
Cause: Sometimes the leak isn’t from the bottom but from the carafe or brew basket dripping down. |
| 9. Damaged Internal Tank Connection |
|---|
|
Cause: The connector between the reservoir and the internal heating system can loosen from vibration or repeated cleaning. |
| 10. Steam Condensation Under the Machine |
|---|
|
Cause: Excess condensation from repeated brewing can collect underneath, making it appear as a leak. |
Repair or Replace?

Sometimes it’s hard to decide whether to repair your coffee maker or buy a new one. The following table helps you determine the best choice based on the type of issue and severity.
| Situation | Repair | Replace |
| Minor seal leak | ✅ Yes | ❌ No |
| Cracked reservoir | ✅ Maybe | ✅ If severe |
| Internal element damage | ❌ No | ✅ Yes |
| Continuous dripping after repair | ❌ No | ✅ Yes |
—Sometimes it’s hard to decide whether to repair your coffee maker or buy a new one. The following table helps you determine the best choice based on the type of issue and severity.
Brand-Specific Quick Checks

Different coffee maker brands tend to have specific spots where leaks are most common. Knowing these can help you quickly identify the problem and apply the right fix.
| Brand | Common Leak Spot | Quick Fix |
| Keurig | Bottom seal and water line | Replace O-ring and descale regularly |
| Hamilton Beach | Water tank seam | Reseal with food-safe epoxy |
| Cuisinart | Heating plate gasket | Replace rubber seal under base |
| Ninja | Reservoir latch | Check and tighten latch spring |
| Mr. Coffee | Internal valve | Clean and reseat valve tube |
If your brand isn’t listed, the Same general fixes apply — most drip and pod machines share similar parts.
Prevent Future Leaks
Keep your coffee maker leak-free with simple care habits:
- Empty and dry the reservoir after each use.
- Wipe spills from the base immediately.
- Descale every 2–3 months with vinegar or cleaner.
- Don’t overfill the tank.
- Store in a dry area away from steam or heat.
These small steps prevent mineral buildup and keep seals flexible for longer.
FAQs
Yes—minerals from hard water can block tubing, valves or small connectors inside the base, causing water to back up and leak from weak points. Regular descaling keeps internal pathways clear and preserves seals. If a scale-clogged valve is leaking, cleaning or replacing it will stop the drip.
A small drip shouldn’t be ignored because water can reach electrical parts, posing safety risks. Unplug the machine, locate the source of the leak, and fix it before using again. Even minor leaks often point to a failing seal or hose—addressing it early avoids bigger damage.
If water drips when the machine is off or idle, the reservoir connection or tank seal is likely faulty. Inspect the tank seating and the valve underneath where it connects to the base. A cracked tank or misaligned connection often causes this type of slow drip.
For frequent users, replacing the gasket or O-ring every 12 months is a good rule of thumb. In areas with hard water, check it every six months because mineral buildup accelerates wear. A soft, flexible seal ensures proper fit and prevents leaks—inspect it regularly.
If your machine leaks while brewing, the most likely cause is pressure forcing water through a worn seal or gasket. Check the rubber O-ring under the water tank or the valve just before the heating chamber. Tightening or replacing these parts often stops the leak. Consider descaling first—mineral buildup can raise pressure and cause leaks too.
Conclusion
A coffee maker leaking from the bottom is usually easy to fix. Most problems are worn seals, cracked parts, or mineral buildup. By checking hoses, gaskets, valves, and reservoirs, you can quickly stop leaks and save money. Regular cleaning and proper care will keep your machine running smoothly.
If you enjoy quick cooking, check out our guide on how an Air fryer can reduce cooking time by half


- Be Respectful
- Stay Relevant
- Stay Positive
- True Feedback
- Encourage Discussion
- Avoid Spamming
- No Fake News
- Don't Copy-Paste
- No Personal Attacks
- Be Respectful
- Stay Relevant
- Stay Positive
- True Feedback
- Encourage Discussion
- Avoid Spamming
- No Fake News
- Don't Copy-Paste
- No Personal Attacks
